
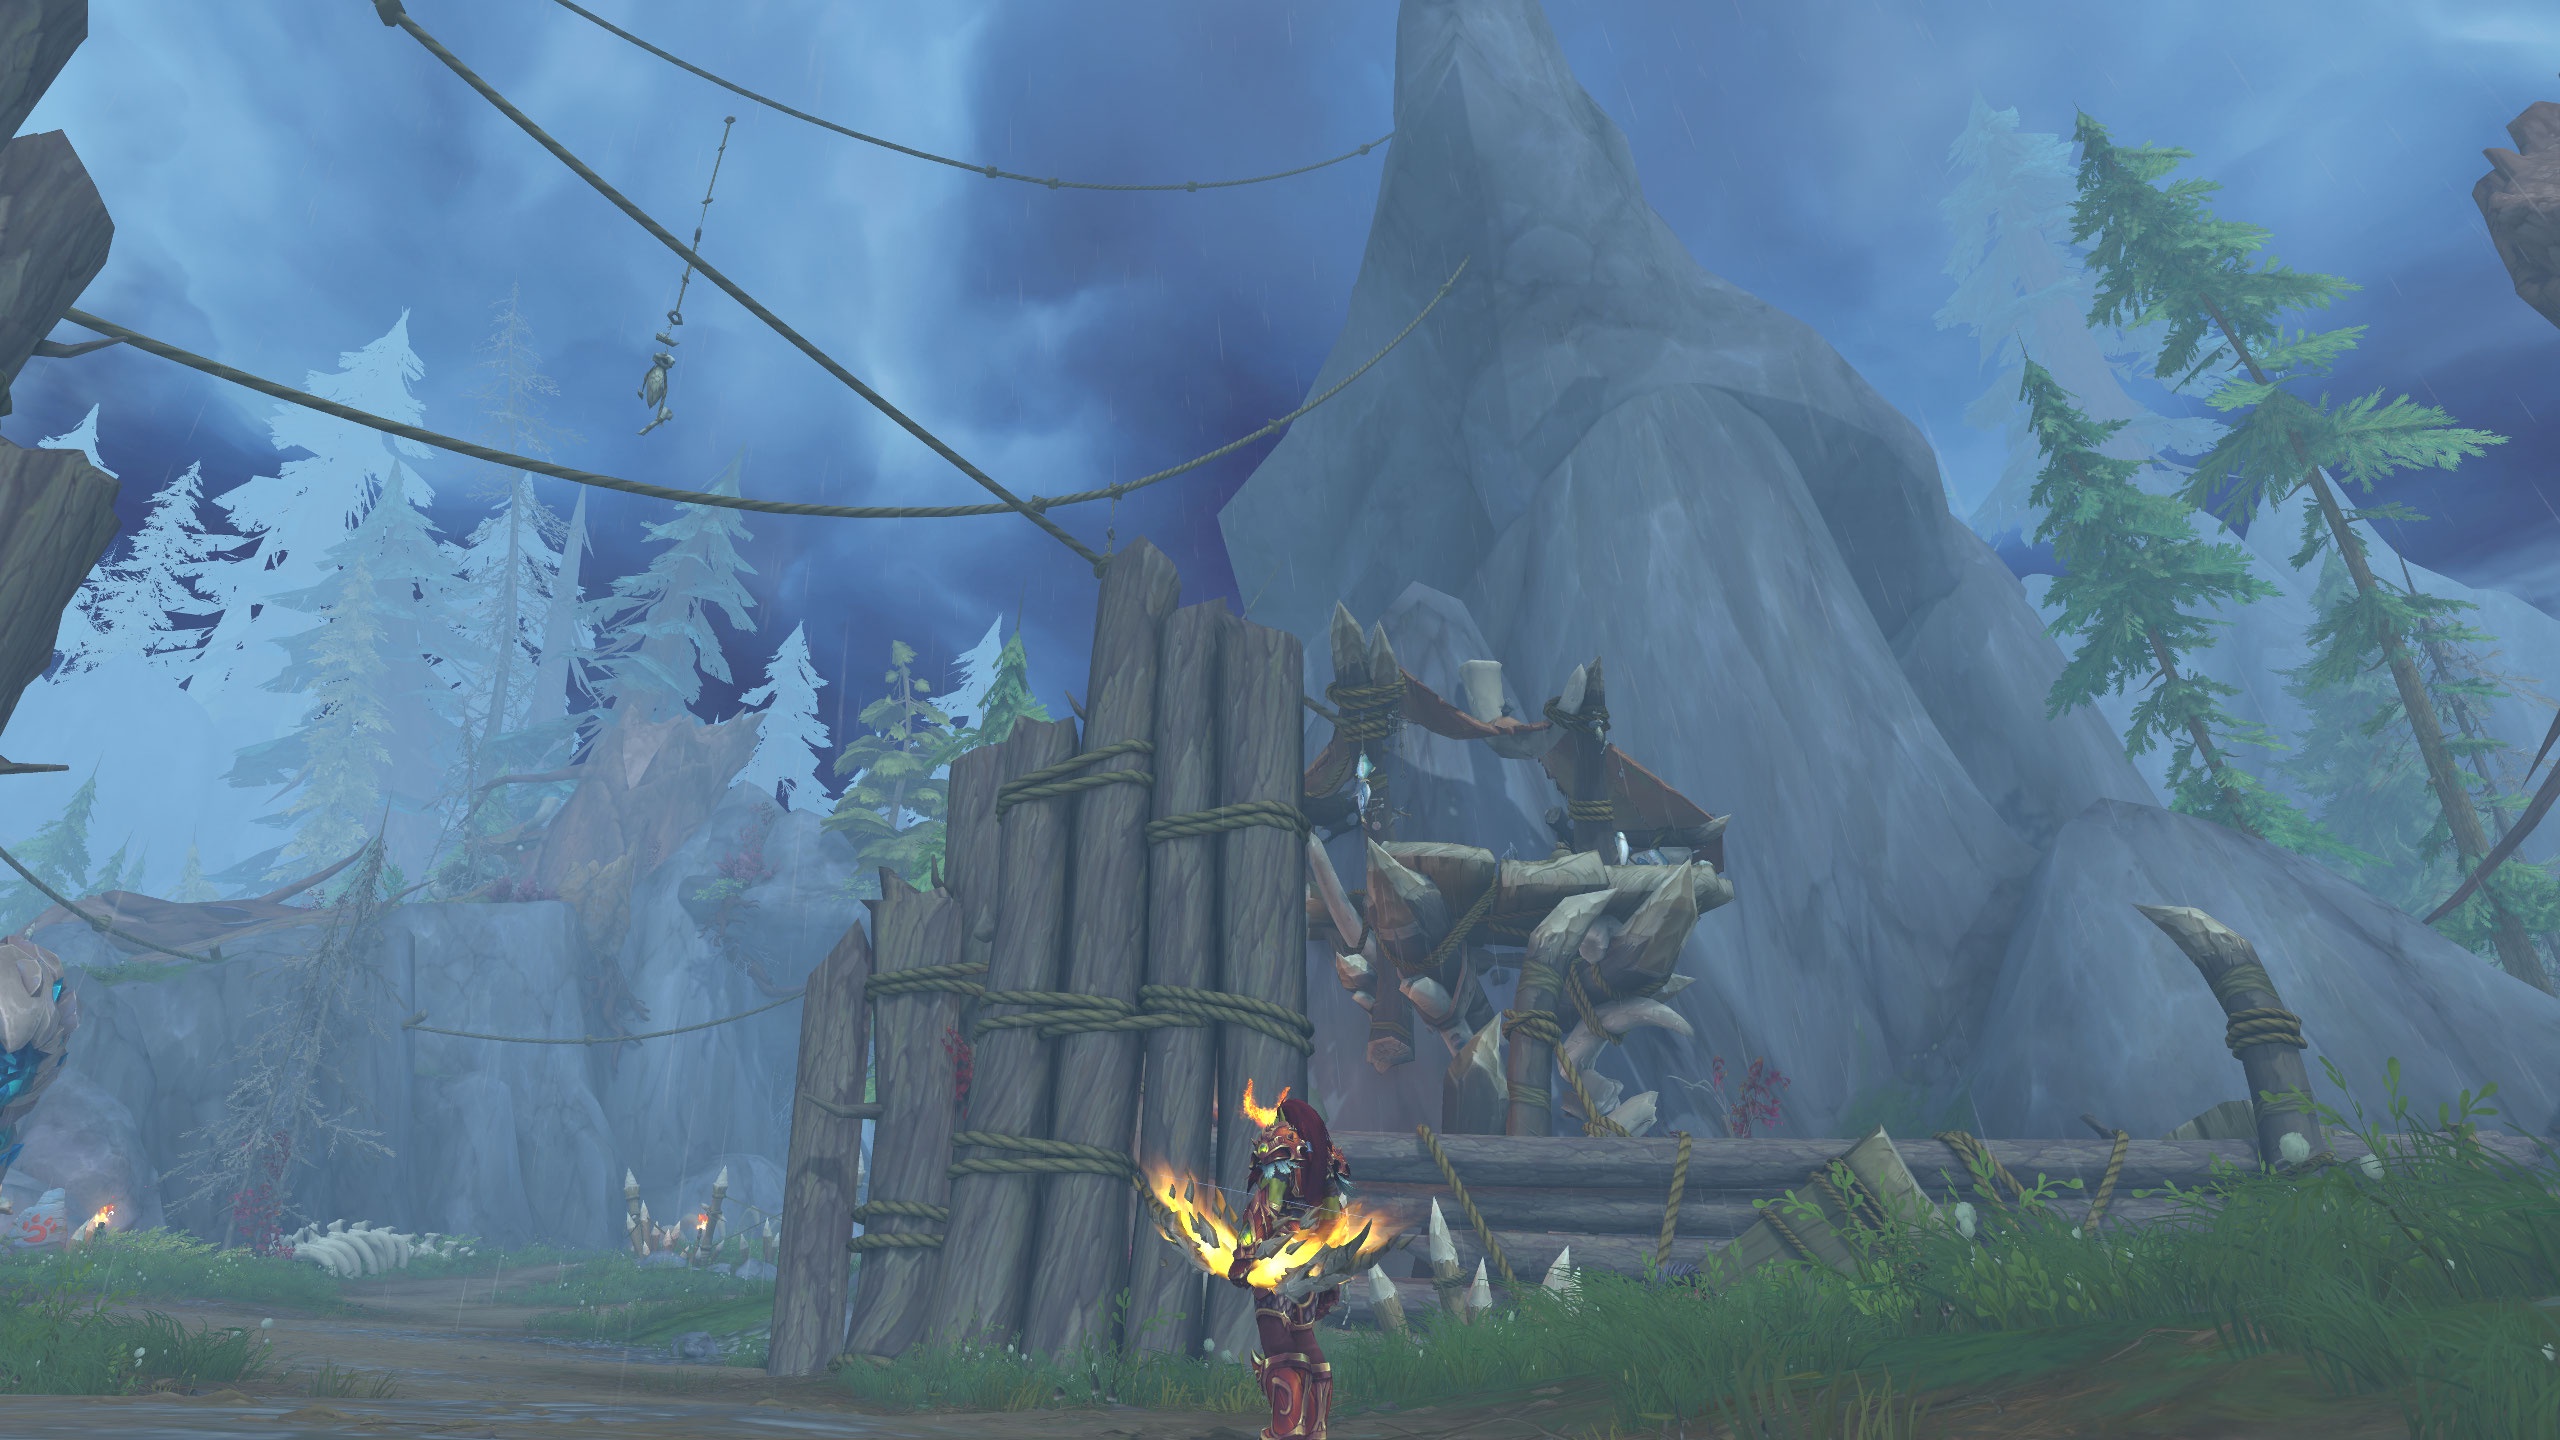
Imagine you’re leading your seasoned group into the tangled heart of Brackenhide Hollow, a place where the unwary find themselves ensnared by more than just the dense underbrush. You’ve heard the whispers of the gnolls’ vicious tactics, yet it’s the strategic use of the environment that will truly test your mettle. As you navigate the thorny paths, you’ll need to harness the power of Dragon Isles Alchemy to counteract the pervasive diseases, turning potential disasters into opportunities. But it’s not just about survival; it’s about mastery. Each boss in Brackenhide Hollow, from the cunning Hackclaws to the formidable Decatriarch Wratheye, presents a unique puzzle that you and your team must solve. You’ll need to coordinate like never before, adapting your strategies in real-time to each boss’s unpredictable onslaught. Are you prepared to take on the challenge and emerge victorious, or will the Hollow claim your pride among its spoils? Stay tuned to uncover the strategies that could make all the difference in your next foray into this untamed wilderness.
Dungeon Overview
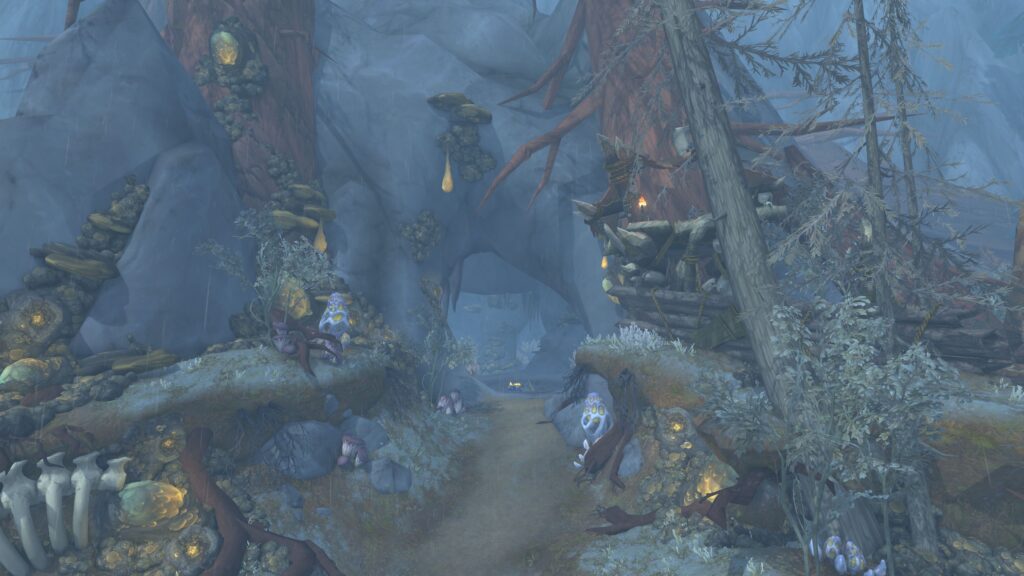
Nestled within the frosty expanse of the Azure Span, Brackenhide Hollow awaits at coordinates /way 11.57 48.78, offering adventurers unique challenges and profession-specific perks. You’ll find the complexities of dungeon mechanics on full display as you navigate this daunting dungeon, which is especially treacherous on mythic difficulty.
As you plunge deeper into Brackenhide Hollow, prepare for boss mechanics that demand your full attention. Remember to use your extra action button strategically—it’s crucial when interacting with objects or executing specific tasks during campaign dungeon quests. Whether you’re dodging the Bladestorm of Rira Hackclaw or interrupting the spells of Tricktotem, you’ll need to stay on your toes.
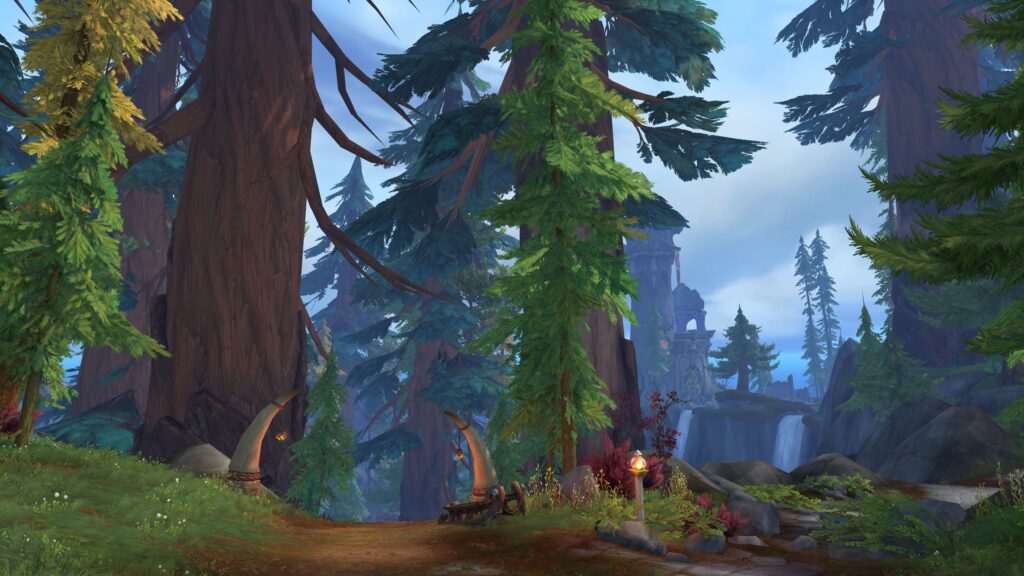
The dungeon’s intricacies include profession bonuses like the Decaying Cauldron, which, with the right Alchemy skill, provides Cleansed Rot brew to clear diseases. That’s just the tip of the iceberg. Each encounter in Brackenhide Hollow is a puzzle, with pieces that require swift adaptation and solid teamwork.
From freeing Tuskarrs to spawning the first boss, to facing the fearsome Decatriarch Wratheye, every step in Brackenhide Hollow is a test of your prowess. Are you ready to conquer these trials and claim your rewards?
Hackclaws War-Band
After conquering the initial challenges of Brackenhide Hollow, you’ll face the formidable Hackclaws War-Band, a group that requires strategic coordination to defeat. This encounter is pivotal in keeping your dungeon experience fresh and dynamic. As you engage, you’ll need to manage the mechanics meticulously to ensure a smooth dungeon completion and to snag those coveted dungeon awards.
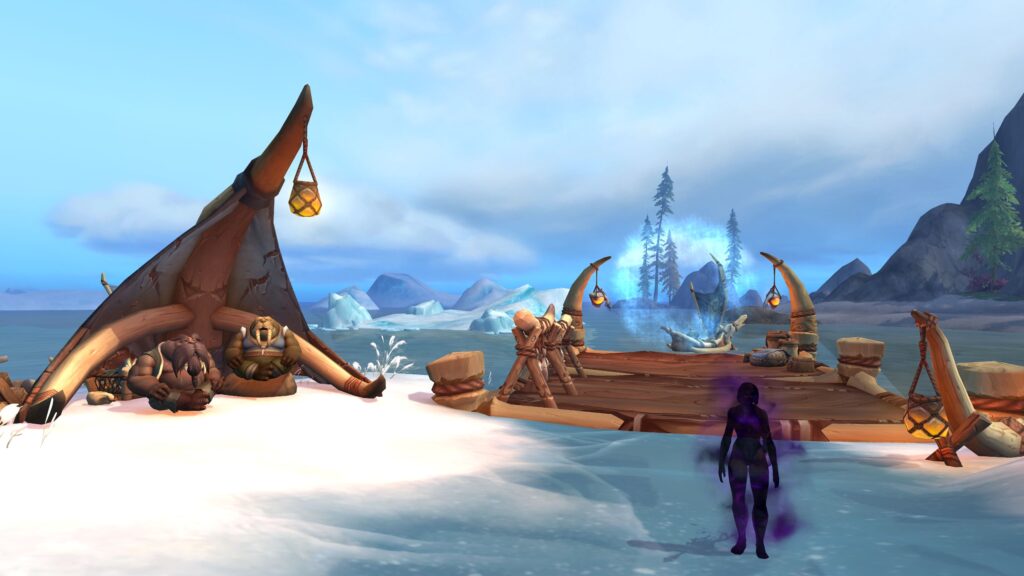
The key level of your follower dungeon party plays a crucial role here. You must dodge Rira Hackclaw’s Bladestorm and interrupt Tricktotem’s spells with precision. It’s essential to prevent Bloodfrenzy by balancing the health of the bosses; this means keeping an eye on their health bars and coordinating damage output among your team members. When the Hextrick Totem pops up, switch your focus and quickly defeat it to minimize the chaos.
Gutshot Encounter
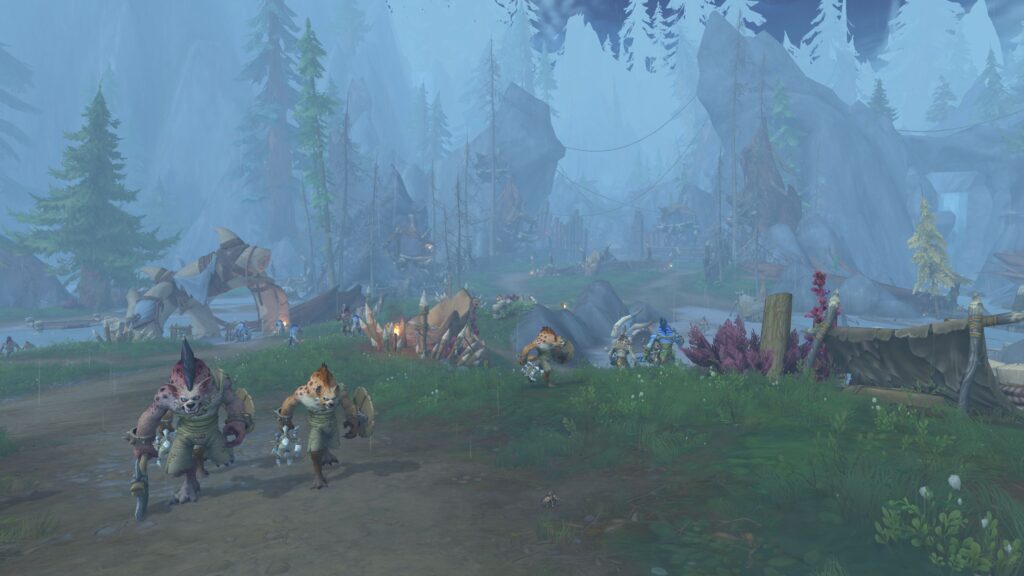
You’ll need to stay on your toes during the Gutshot encounter as you face off against the rapid Rotfang Hyenas and their vicious attacks. These beasts are relentless, and timing is crucial to manage the onslaught. Keep an eye out for Ensnaring Traps and dodge Bounding Leap to avoid unnecessary damage.
During the fight, you’ll also have to deal with Gutshot’s powerful attack. It’s a high-damage skill that can knock you back if you’re not careful. Your priority is to interrupt Master’s Call whenever possible to prevent the hyenas from becoming even more ferocious.
Here’s a quick reference table for the abilities you need to watch out for:
| Ability | Effect | Counteraction |
|---|---|---|
| Bounding Leap | Ground-targeted leap causing damage | Dodge the ground animation |
| Ensnaring Traps | Traps that root and damage over time | Avoid or remove roots |
| Master’s Call | Buffs hyenas, making them more dangerous | Interrupt this ability |
| Gut Shot | High damage shot with knockback | Be ready to heal/mitigate |
Stay vigilant and communicate with your team to handle these challenges effectively. Remember, quick reflexes and strategic play are your best assets in this fight.
Treemouth Challenge
Shifting focus to the Treemouth encounter, it’s essential to keep moving to avoid the Decay Spray, which can deal significant damage if you’re caught in its path. The boss constantly rotates, unleashing this ability, so you’ll need to stay on your toes. It’s not just about dodging, though; you’ve also got to interrupt the Decaying Slimes’ Gushing Ooze to prevent additional pressure on your group.
Don’t get too comfortable after dodging Decay Spray, as standing in the residual decay pools from Burst will quickly whittle down your health. Plus, Grasping Vines can root you in place, making you an easy target for these hazards. You’ll need to coordinate with your team to break free or rely on personal abilities that can remove such movement impairing effects.
Managing your positioning is key in this fight. Stay spread to minimize the impact of the AOE abilities, but also close enough to assist team members caught by vines. Remember, your reaction time can make or break this encounter. Keep an eye on the boss’s cast bar, and use every tool at your disposal to mitigate the incoming damage and control the playfield. Stay sharp, stay mobile, and you’ll take down Treemouth without a hitch.
Decatriarch Wratheye Strategy
Facing Decatriarch Wratheye requires a strategic approach to handle her array of minions and their debilitating abilities. You’ll find her in the depths of Brackenhide Hollow, ready to unleash her corrupting presence. To ensure your group prevails, you’ll need to focus on two main aspects:
- Minion Management
- Prioritize adds based on threat level
- Use crowd control to manage the numbers
- Interrupt abilities like Choking Rotcloud
- Boss Mechanics
- Dodge Decaystrike to avoid the damage over time
- Cleanse or immunize against Withering Rot debuff
Here’s a breakdown to keep the fight in your favor:
- Minion Priorities
- Filth Caller: Interrupt their summons
- Disease Slashers: Stun or root to prevent their leap
- Fetid Rotsinger & Vile Rothexer: Silence or interrupt their casts
- Wither Biter: Don’t let their numbers overwhelm you
- Surviving Wratheye
- Positioning is key to avoid being boxed in
- Healers must be ready to dispel or mitigate the Withering Rot
- Tanks should kite the boss to manage space efficiently
Frequently Asked Questions
What Are the Rewards for Completing the Brackenhide Hollow Dungeon, and Do They Differ Based on the Difficulty Level?**
You’ll earn gear, achievements, and possibly rare mounts or pets. Rewards improve with higher difficulty, offering better loot in Heroic or Mythic compared to Normal mode. Keep challenging yourself for the best stuff!
This Question Would Focus on the Types of Loot, Item Levels, and Potential Achievements That Players Can Expect From Completing the Dungeon Across Various Difficulty Settings Such as Normal, Heroic, Mythic, and Mythic+.
You’ll find loot scales with difficulty—from normal to mythic+. Higher challenges offer better gear and achievements, rewarding your skill and group coordination with more prestigious items and recognition in-game. Keep pushing limits!
Are There Any Specific Classes or Roles That Have an Advantage or Disadvantage in Brackenhide Hollow?**
You won’t find specific classes at a consistent advantage in Brackenhide Hollow, but those with AOE and cleanse abilities might find it slightly easier to manage the dungeon’s numerous mobs and diseases.
Players Often Want to Know if Certain Classes or Roles (Tank, Healer, Dps) Face Unique Challenges or Have Advantages in the Dungeon That Might Affect Group Composition or Strategy.
You’ll find that certain roles can have unique challenges, but it’s more about skill and strategy than class. Balance your group, learn the mechanics, and you’ll handle any dungeon thrown your way.
Is There an Attunement or a Prerequisite Questline Required to Access Brackenhide Hollow?**
You don’t need any attunement or prerequisite questline for Brackenhide Hollow. Just head to the Azure Span, gather your party, and dive right in to tackle the gnolls and their vicious hyenas.
Conclusion
As you emerge from the shadows of Brackenhide Hollow, you aren’t just a victor; you’re the forge and the flame, having shaped your mettle in the crucible of conflict. The gnolls’ snarls fade behind you, echoing lessons learned and triumphs earned. With each step forward, you carry the essence of the Hollow—a reminder that in the heart of darkness, resilience shines brightest. Onward, brave adventurer, for your saga is etched in the annals of the Dragon Isles.
Looking for more World of Warcraft Guides and News? Check out our blog!
Leave a Reply